如何在macOS中编译OpenJDK10源代码
这段时间准备开始学习《深入理解Java虚拟机》,先搭个可以调试的环境出来。按照书中的配置,感觉有许多问题的,这篇文章就用来记录成功编译OpenJDK源代码的一些过程,以及其中的一些配置。配置信息综述系统版本:macOS 10.14 BetaOpenJDK版本:jdk-10+46,TAG链接、zip包
这段时间准备开始学习《深入理解Java虚拟机》,先搭个可以调试的环境出来。按照书中的配置,感觉有许多问题的,这篇文章就用来记录成功编译OpenJDK源代码的一些过程,以及其中的一些配置。
配置信息综述
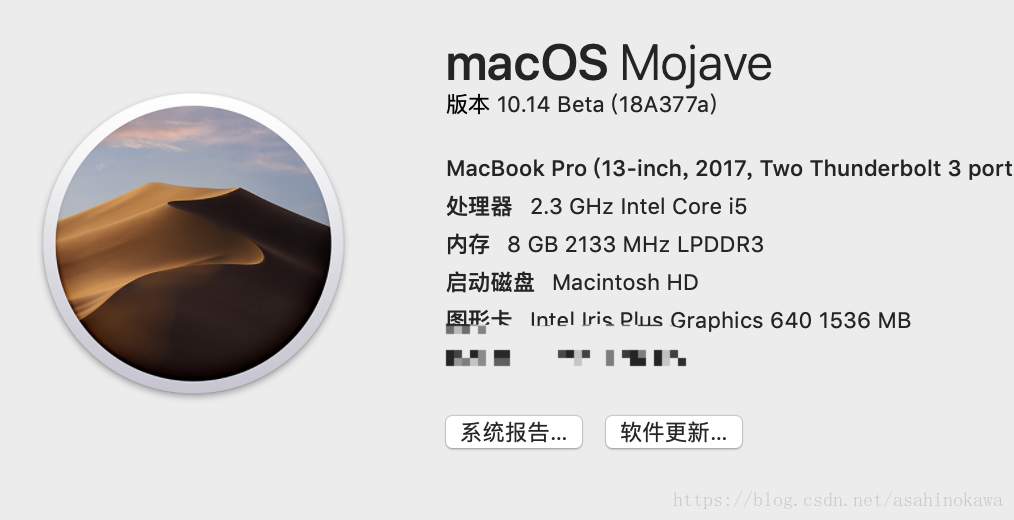
系统版本:macOS 10.14 Beta
OpenJDK版本:jdk-10+46, TAG链接、 zip包下载链接、 unofficial-openjdk项目主页。
何处下载OpenJDK源代码
地方有两个,
其一,是书中所说的通过Mercurial代码管理版本管理工具从Repository中直接获取源码(Repository为http://hg.openjdk.java.net),这种方法不是特别爽,听说有速度问题;
其二,就是使用类似源码镜像的方式去下载。这里可以给出一个连接:https://github.com/unofficial-openjdk/openjdk。在这个网站上,可以直接从release中下载相应版本的源代码。
自动检测依赖
进入解压后的文件夹,然后运行bash ./configure。这是一项检测所需要的依赖是否安装好了的脚本。只需要根据其提供的错误提示,将相应错误修改完成即可。
前后遇到的问题有:
gcc版本问题。因为jdk8需要用到gcc,但是macOS中的gcc已经链接到clang上了。需要重新装gcc,并链接。但是可以选择编译jdk9或jdk10,听说这两个是可以用clang编译。jdk9没试,jdk10是的。下载了jdk10的源代码后,运行configure就没问题了。太震惊了,现在jdk都已经到12了。
【这步应该可忽略】提示xcodebuild相关的错误。可能还是与之前升级了系统有关。其详细的错误信息&解决过程如下:
configure: error: No xcodebuild tool and no system framework headers found, use --with-sysroot or --with-sdk-name to provide a path to a valid SDK
# 于是运行了一下`xcodebuild`,错误信息如下:
xcode-select: error: tool 'xcodebuild' requires Xcode, but active developer directory '/Library/Developer/CommandLineTools' is a command line tools instance
# 解决方案:
sudo xcode-select --switch /Applications/Xcode.app/Contents/Developer
# Xcode若有后续版本,可能需要根据实际情况去做些修改。
- 没有freetype。提示使用brew安装:
brew install freetype。但是安装后,并没有再次运行时,仍然出现相同的提示。找了挺多方法,包括看这些脚本是怎么写的,就是想知道是怎么找的,然后看它为什么会输出"Could not find freetype!....."。不够收益不大,并没有找到解决办法。这时候看了看doc/building.html,内容如下:
 If a required library is not detected by configure, you need to provide the path to it.
 There are two forms of the configure arguments to point to an external library:
  --with-<LIB>=<path> or  --with-<LIB>-include=<path to include> --with-<LIB>-lib=<path to lib>.
- configure的时候一定要带上--disable-warnings-as-errors这个参数,否则编译过程中的warning也会中断编译的进程,实际上这些warning并不影响编译后的目标JDK的运行
所以后面我运行的configure如下:
Update : 2019/1/15
bash configure --with-debug-level=slowdebug --enable-dtrace --with-jvm-variants=server --with-target-bits=64 --enable-ccache --with-num-cores=8 --with-memory-size=8000 --disable-warnings-as-errors
至此,自动检测的错误全部解决。
开始编译:
使用make时,使用了images*,即make images。其后面可用的参数如下:
Apart from the default target, here are some common make targets:
hotspot - Build all of hotspot (but only hotspot) hotspot-<variant> - Build just the specified jvm variant images or product-images - Build the JRE and JDK images docs or docs-image - Build the documentation image test-image - Build the test image all or all-images - Build all images (product, docs and test) bootcycle-images - Build images twice, second time with newly built JDK (good for testing) clean - Remove all files generated by make, but not those generated by configure dist-clean - Remove all files, including configuratio
验证
编译完成后,验证编译结果如下:

参考: https://hunterzhao.io/post/2018/01/29/compile-openjdk10-source-code-on-mac/https://juejin.im/post/5a6d7d106fb9a01ca47abd8b
