0 | Spring:源代码下载、导入与Hello World
最近确实受到一些打击,开始思考人生、也开始思考自己到底缺的是什么。决定从spring源代码开始学习,是我在思考后,作出的决定。但是同时我也不会放弃netty,等稍微有点时间了,我会继续开始netty相关的学习。说起来很是惭愧,因为项目中每天都在用这个框架,也觉得自己大致懂spring是干什么的,除了
最近确实受到一些打击,开始思考人生、也开始思考自己到底缺的是什么。决定从spring源代码开始学习,是我在思考后,作出的决定。但是同时我也不会放弃netty,等稍微有点时间了,我会继续开始netty相关的学习。
说起来很是惭愧,因为项目中每天都在用这个框架,也觉得自己大致懂spring是干什么的,除了偶尔看看SpringMVC的代码外,很少看过spring以及SpringBoot相关的源码,以致于连SpringBoot的自动配置也只是知道个大概。最近几天看了看SpringBoot的自动配置源码,算是从代码上有了一个了解,但是同时感觉自己对每天都在用到的Spring还所知盛少。所以,在这样的基础上,还去看netty,有一种眼高手低、“起房子我只要顶楼”的感觉。所以还是从头开始吧,毕竟这个框架,在毕业前就一致被问来问去,到现在都还没说太清楚,确实很是惭愧。
源代码的克隆
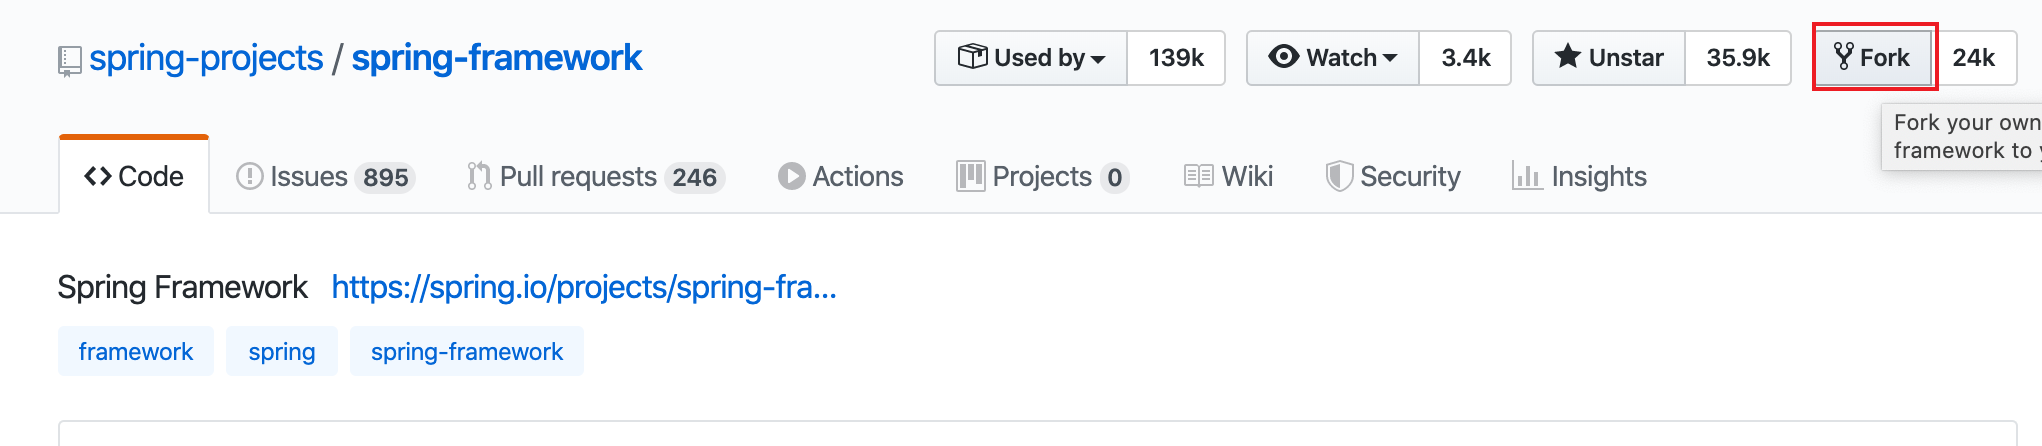
从 https://github.com/spring-projects/spring-framework 克隆源代码到本地,然后导入到idea中。
如果从github上面克隆比较慢,可以先在github上面fork一份源代码到自己的账号上;
然后在gitee上,导入绑定的github账号下的项目,这个速度比较快;

最后直接从gitee上面克隆。
git clone [email protected]:sasurai/spring-framework.git
这样操作的话,速度比较快。
源代码的导入
看多了网上的各种教程,包括书上面的,都没有官方导入说明来得直接。
The following has been tested against IntelliJ IDEA 2016.2.2
Steps
Within your locally cloned spring-framework working directory:
- Precompile
spring-oxmwith./gradlew :spring-oxm:compileTestJava - Import into IntelliJ (File -> New -> Project from Existing Sources -> Navigate to directory -> Select build.gradle)
- When prompted exclude the
spring-aspectsmodule (or after the import via File-> Project Structure -> Modules) - Code away
Known issues
spring-coreandspring-oxmshould be pre-compiled due to repackaged dependencies. See*RepackJartasks in the build and https://youtrack.jetbrains.com/issue/IDEA-160605).spring-aspectsdoes not compile due to references to aspect types unknown to IntelliJ IDEA. See https://youtrack.jetbrains.com/issue/IDEA-64446 for details. In the meantime, the 'spring-aspects' can be excluded from the project to avoid compilation errors.- While JUnit tests pass from the command line with Gradle, some may fail when run from IntelliJ IDEA. Resolving this is a work in progress. If attempting to run all JUnit tests from within IntelliJ IDEA, you will likely need to set the following VM options to avoid out of memory errors: -XX:MaxPermSize=2048m -Xmx2048m -XX:MaxHeapSize=2048m
- If you invoke "Rebuild Project" in the IDE, you'll have to generate some test resources of the
spring-oxmmodule again (./gradlew :spring-oxm:compileTestJava)
Tips
In any case, please do not check in your own generated .iml, .ipr, or .iws files. You'll notice these files are already intentionally in .gitignore. The same policy goes for eclipse metadata.
FAQ
Q. What about IntelliJ IDEA's own Gradle support?
A. Keep an eye on https://youtrack.jetbrains.com/issue/IDEA-53476
与maven类似,import之后会使用gradle构建整个项目,这个过程中会下载依赖,默认的依赖下载网址是国外的,很慢,所以构建需要很长时间,甚至出现构建失败。
多试几次
使用阿里镜像
在用户目录下的.gradle中,新建init.gradle文件:vim ~/.gradle/init.gradle
内容是从网上抄过来的,内容如下:
allprojects {
    repositories {
        def ALIYUN_REPOSITORY_URL = 'http://maven.aliyun.com/nexus/content/groups/public'
        def ALIYUN_JCENTER_URL = 'http://maven.aliyun.com/nexus/content/repositories/jcenter'
        all {
            ArtifactRepository repo ->
                if (repo instanceof MavenArtifactRepository) {
                    def url = repo.url.toString()
                    if (url.startsWith('https://repo1.maven.org/maven2')) {
                        project.logger.lifecycle "Repository ${repo.url} replaced by $ALIYUN_REPOSITORY_URL."
                        remove repo
                    }
                    if (url.startsWith('https://jcenter.bintray.com/')) {
                        project.logger.lifecycle "Repository ${repo.url} replaced by $ALIYUN_JCENTER_URL."
                        remove repo
                    }
                }
        }
        maven {
            url ALIYUN_REPOSITORY_URL
            url ALIYUN_JCENTER_URL
        }
    }
}
架个梯子(尝试了,但是想过不太理想,可能是梯子本身太慢)
构建完成后,各个模块能够突出显示出来,与用maven构建后的效果类似。

来一个基于源码的Hello World
新建一个module,然后在新建module的build.gradle中,加入对spring-framework中子模块的依赖
dependencies {
    testCompile group: 'junit', name: 'junit', version: '4.12'
    compile project(":spring-core")
    compile project(":spring-beans")
    compile project(":spring-context")
}
只要注意这个写法就行了,与maven中加入依赖的效果是类似的,然后新建一个bean类
package main.beans;

public class TestBean {
	private String name;

	public String getName() {
		return name;
	}

	public void setName(String name) {
		this.name = name;
	}

	@Override
	public String toString() {
		return "TestBean{" +
				"name='" + name + '\'' +
				'}';
	}
}
xml配置文件。这段是从书上敲过来的,太坑了,连大小写都还要再改,搞得一脸懵逼。
<?xml version="1.0" encoding="UTF-8" ?>
<beans xmlns="http://www.springframework.org/schema/beans"
	   xmlns:xsi="http://www.w3.org/2001/XMLSchema-instance"
	   xsi:schemaLocation="http://www.springframework.org/schema/beans http://www.springframework.org/schema/beans/spring-beans.xsd">
	<bean id="testBean" class="main.beans.TestBean"/>
</beans>
测试类
package main;

import main.beans.TestBean;
import org.springframework.context.support.ClassPathXmlApplicationContext;

public class TestMainApplication {
	public static void main(String[] args) {
		ClassPathXmlApplicationContext beanFactory = new ClassPathXmlApplicationContext("beanFactoryTest.xml");
		TestBean testBean = beanFactory.getBean(TestBean.class);
		System.out.println(testBean);
	}
}
启动测试类,输出如下:
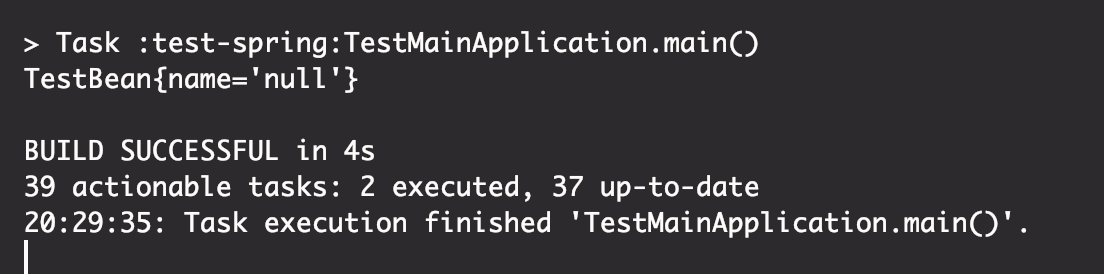
愉快地开始spring吧!
