说句实话,我觉得Spring Cloud Gateway看起来很牛逼。首先是因为zuul的难产,颇有一种谁行谁上的感觉;再一个是WebFlux的加持,瞬间逼格就上去了。但是感觉苦逼的又回到了原点,因为WebFlux看简介是说基于Netty来实现的,绕来绕去又回到了Netty。
言归正传,如果只是简单的使用,对路由在yaml文件中进行配置是最简单的,以及进行断言、过滤。整体使用,感觉不难。但是,我相信,源码应该不好看?。
配置步骤
①新建名叫gateway的module,导入spring-cloud-starter-gateway依赖到pom,并加入对nacos配置、服务发现相关的依赖,如下:
1
2
3
4
5
6
7
8
9
10
11
12
13
14
15
| <dependency>
<groupId>org.springframework.cloud</groupId>
<artifactId>spring-cloud-starter-gateway</artifactId>
<version>2.2.2.RELEASE</version>
</dependency>
<dependency>
<groupId>com.alibaba.cloud</groupId>
<artifactId>spring-cloud-starter-alibaba-nacos-config</artifactId>
<version>2.2.0.RELEASE</version>
</dependency>
<dependency>
<groupId>com.alibaba.cloud</groupId>
<artifactId>spring-cloud-starter-alibaba-nacos-discovery</artifactId>
<version>2.2.0.RELEASE</version>
</dependency>
|
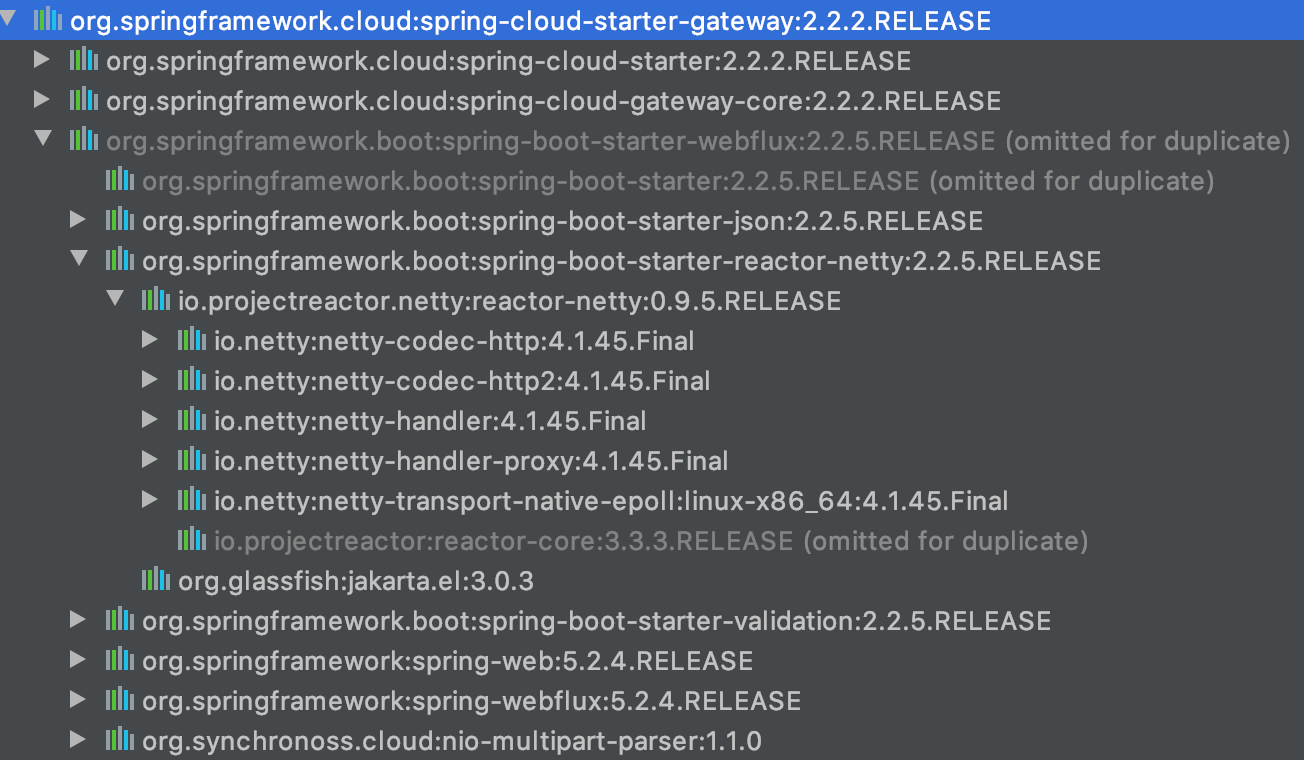
spring-cloud-starter-gateway的依赖树如下:

这个netty相关的依赖看着有点眼熟。
②编写启动类,开启服务注册与发现
1
2
3
4
5
6
7
| @SpringBootApplication
@EnableDiscoveryClient
public class GatewayApplication {
public static void main(String[] args) {
SpringApplication.run(GatewayApplication.class, args);
}
}
|
③在resouces下编写bootstrap.yaml配置文件(本来配置原本打算是要放到nacos里面,这里图个方便,直接放bootstrap里面了,所以这里看起来可能有点怪),最简单的是在这里定义路由、断言。
1
2
3
4
5
6
7
8
9
10
11
12
13
14
15
16
17
18
19
20
21
| server:
port: 7777
spring:
application:
name: gateway
cloud:
gateway:
discovery:
locator:
enabled: true
routes:
- id: hello
uri: lb://module01
predicates:
- Path=/hello/**
nacos:
discovery:
server-addr: localhost:80
config:
server-addr: localhost:80
file-extension: yaml
|
④此时启动gateway模块,通过7777端口即可访问到相应的接口,如下:

⑤还可以对gateway转发的每一条请求,做一个filter操作,如下:
1
2
3
4
5
6
7
8
9
10
11
12
13
14
| @Component
public class CustomFilter implements Ordered, GlobalFilter {
Logger logger = Logger.getLogger(this.getClass().getName());
@Override
public Mono<Void> filter(ServerWebExchange exchange, GatewayFilterChain chain) {
logger.info("收到请求,来自:" + exchange.getRequest().getRemoteAddress().getHostName());
return chain.filter(exchange);
}
@Override
public int getOrder() {
return 0;
}
}
|
此时的控制台会有日志打出,说明拦截生效了:

此处filter的可操作空间就比较大了,可以放一些针对全局请求的处理。
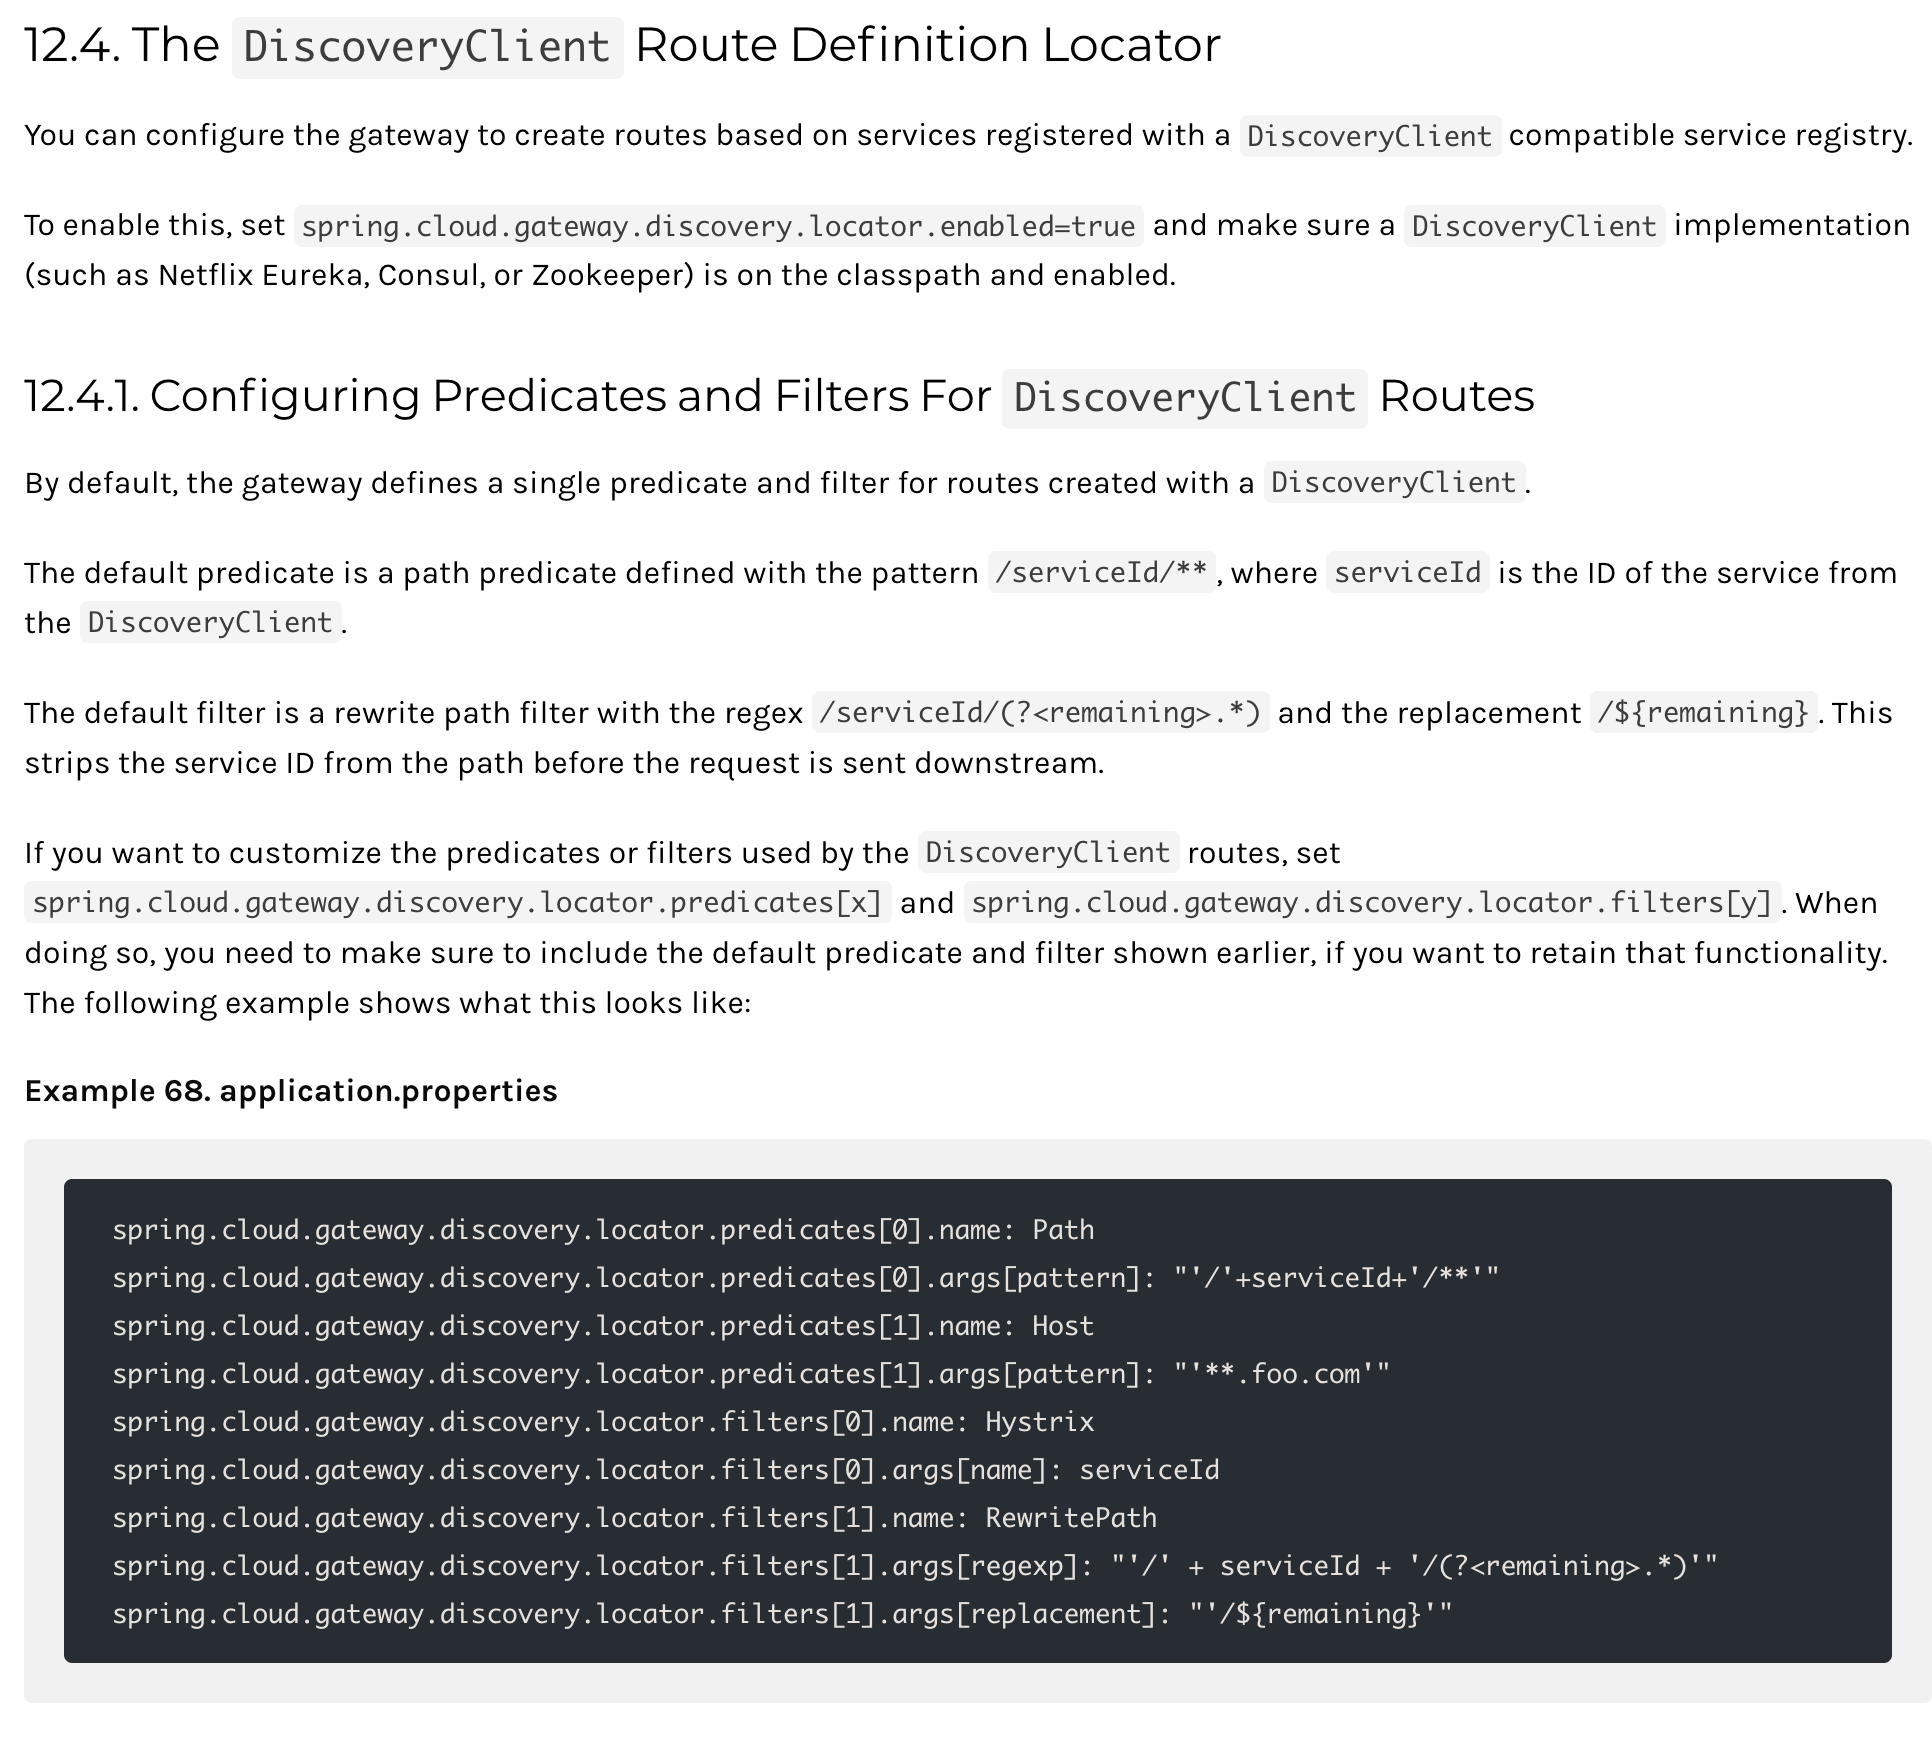
疑问:cloud.gateway.discovery.locator.enabled值默认为false,但是不加这个配置,通过服务名称+lb的配置也能生效,因此对它的作用应该不是开启微服务名转发的功能,那它的功能究竟是什么?
答案是这个。

gateway在项目中的使用(以测试环境为例)
①所有的请求走34的30450端口。这个端口是nginx,做静态页面与后端接口的转发。

②由于34是k8s的一个node,因此通过信息查询,可以得出占用30450端口的pod

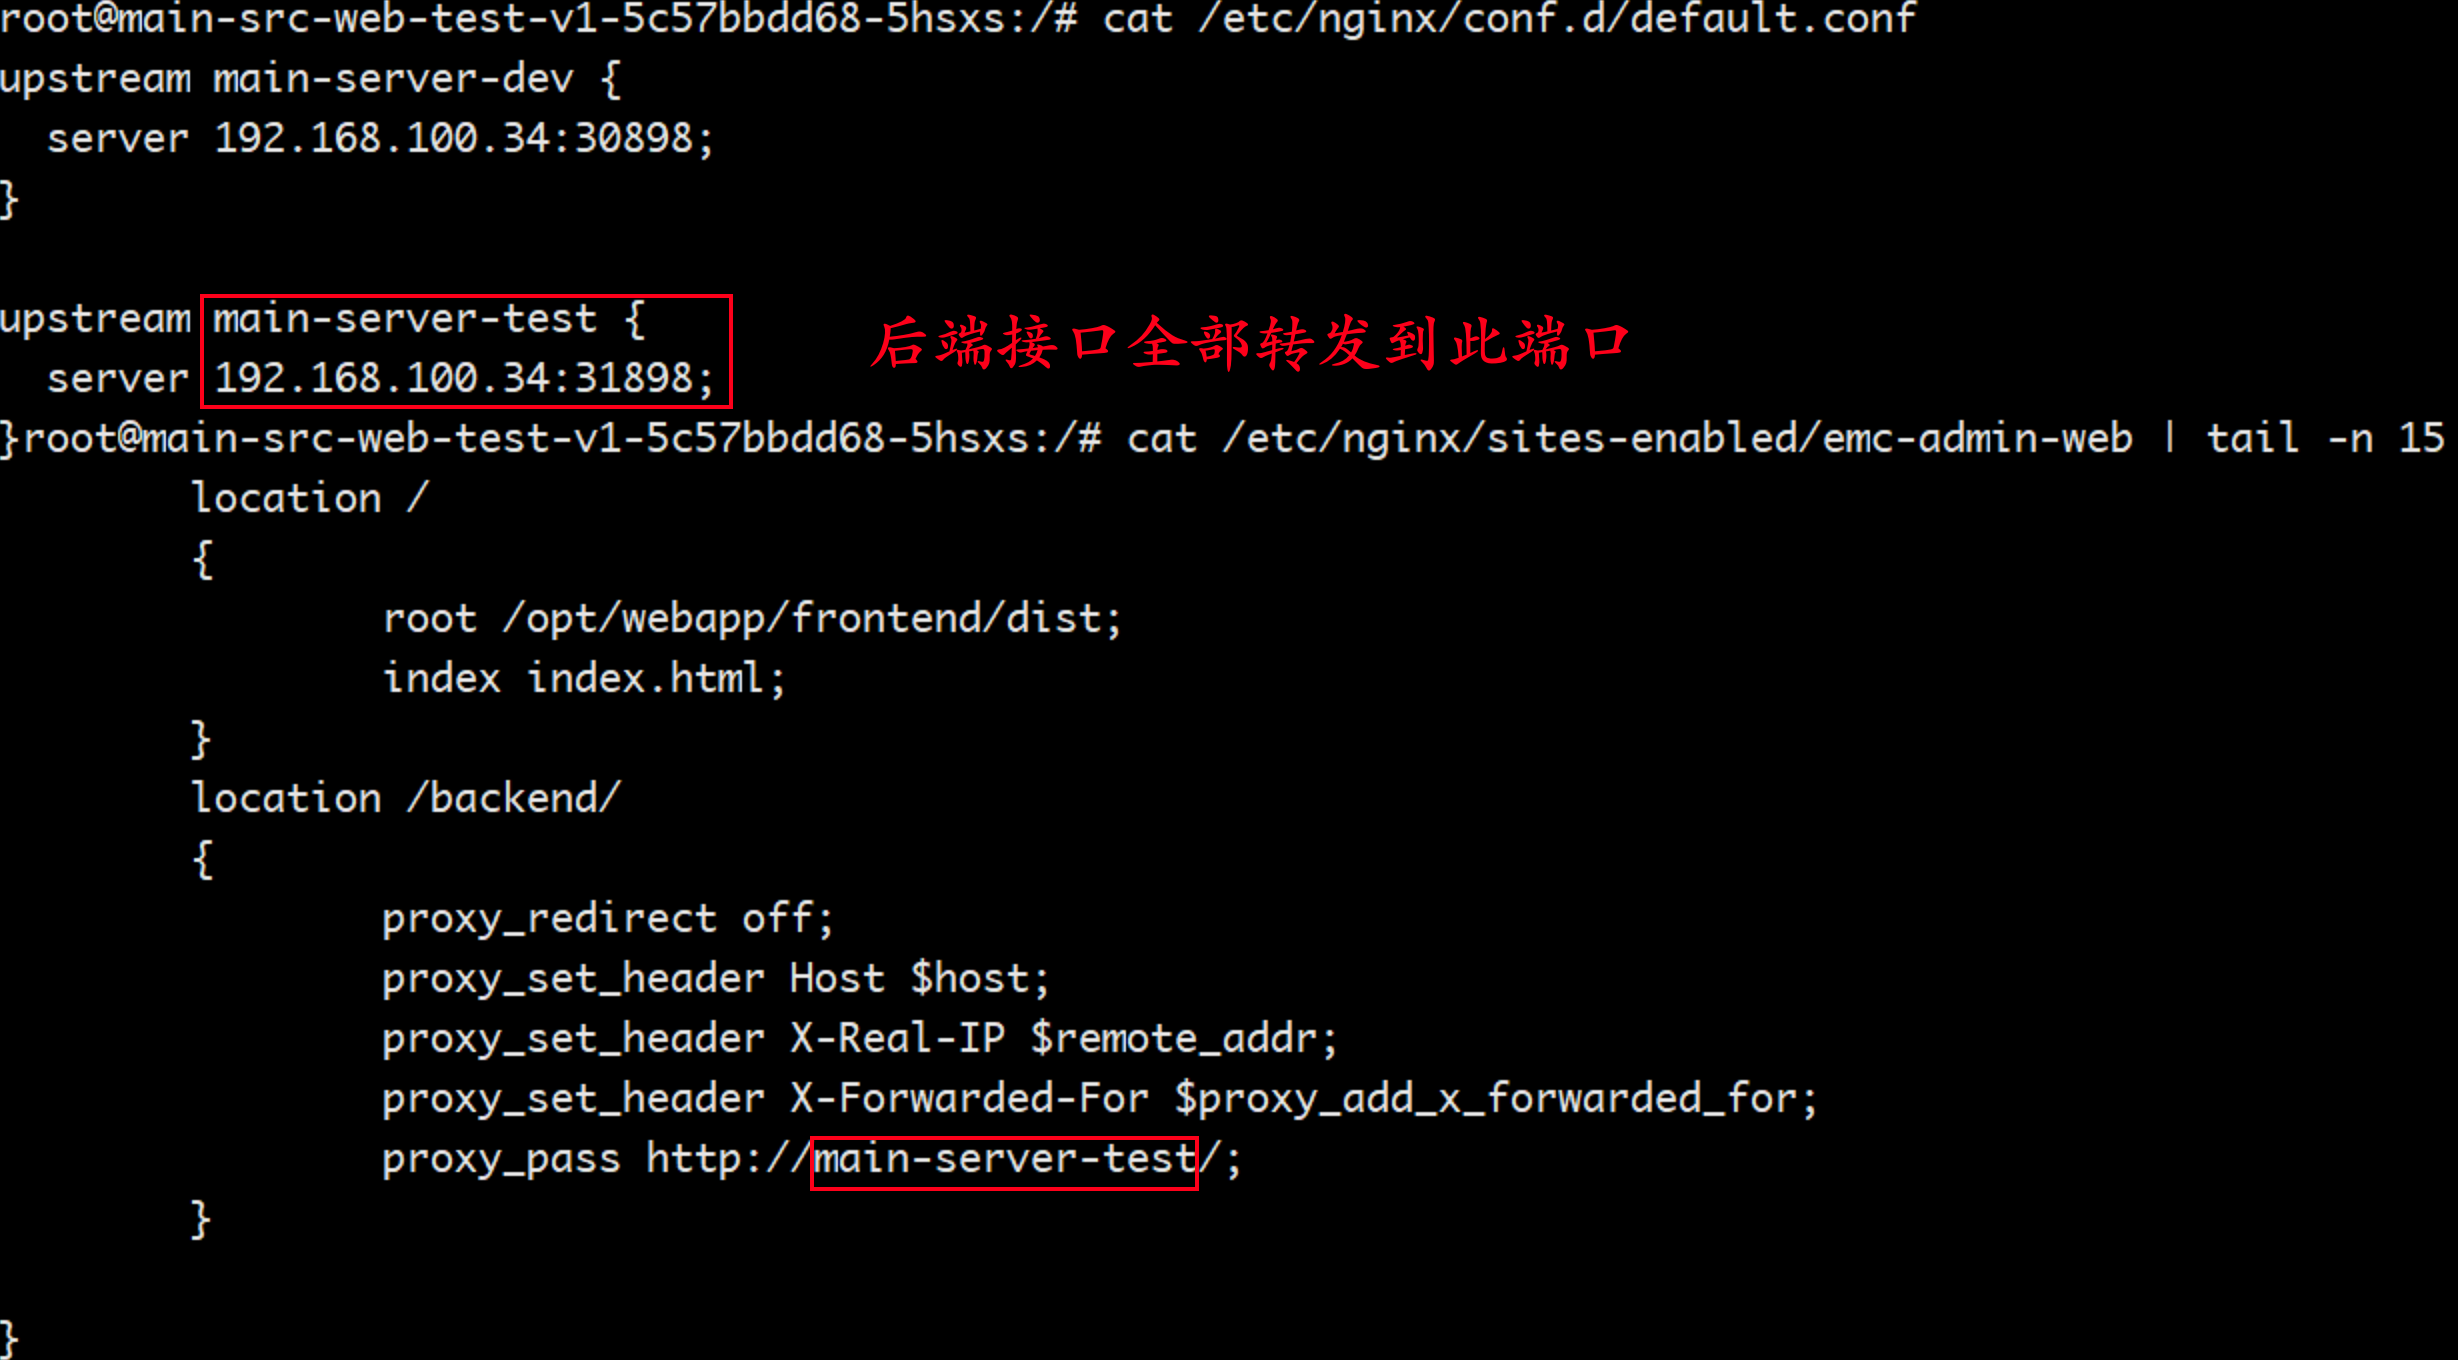
③进入main-src-web-test查看nginx的配置信息

④找到31898端口对应的服务

⑤此服务即项目中的gateway服务,其gateway相关的配置信息如下:
1
2
3
4
5
6
7
8
9
10
11
12
13
14
15
16
17
18
19
20
21
22
23
24
25
26
27
28
29
| server:
port: 9898
context:
excludePaths:
- /emc-admin
spring:
cloud:
sentinel:
transport:
port: 2${server.port}
dashboard: 192.168.100.34:30858
datasource:
default:
nacos:
serverAddr: ${nacos.server}
dataId: sentinel-${spring.application.name}.json
groupId: DEFAULT_GROUP
dataType: json
ruleType: flow
gateway:
routes:
- id: emc-admin
uri: lb://emc-admin
predicates:
- Path=/emc-admin/**
filters:
- StripPrefix=1
|
项目中的gateway还集成了sentinel,也就是自定义了一个Filter,并在其中,对每一条请求,都交给sentinel进行处理,由此实现熔断、降级、限流。实现如下:
1
2
3
4
5
6
7
8
9
10
11
12
13
14
15
| private Mono<Void> chainFilter(ServerWebExchange exchange, GatewayFilterChain chain, String requestURI) {
try {
Route route = exchange.getAttribute(GATEWAY_ROUTE_ATTR);
ContextUtil.enter(route.getUri().toString());
AsyncEntry entry = SphU.asyncEntry(requestURI, EntryType.IN);
return chain.filter(exchange).doFinally(type -> {
ContextUtil.runOnContext(entry.getAsyncContext(), () -> {
entry.exit();
});
});
} catch (BlockException ex) {
log.warn("{} request blocked", requestURI);
return responseFailure(exchange.getResponse(), HttpStatus.SERVICE_UNAVAILABLE);
}
}
|


